
Help

FAQ & How-To Guides

Step-by-step guides for your PowerHouseATX client portal — logging in, booking, credits, and your account.

Log in to your portal

Your client portal is where you book sessions, complete your paperwork, track your credits, and manage your account. Signing in takes two steps.

About 1 minute2 steps

Before you start: You'll need a client account and the email and password you signed up with. New here? See the 'I don't have an account yet' note below first.

  1. Open the login page and enter your details

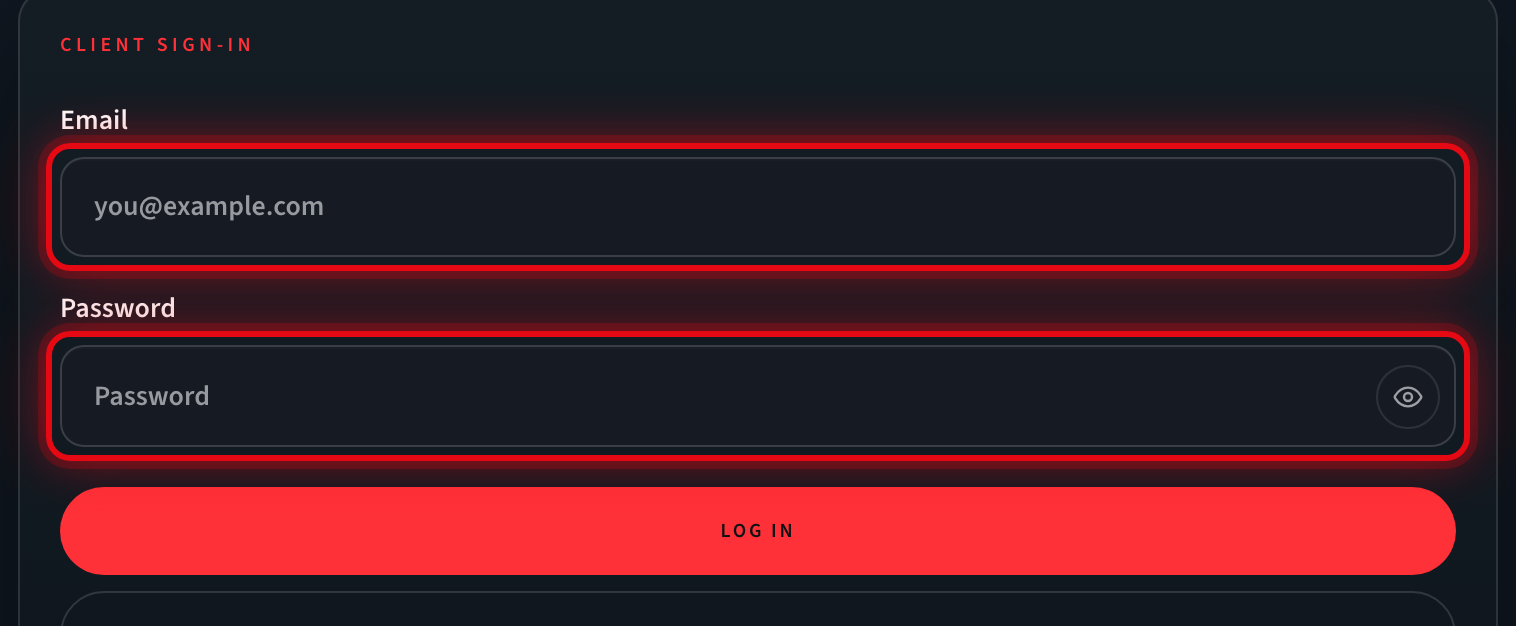
    In a web browser, go to powerhouseatx.com/login. In the two highlighted boxes, type the email address you signed up with and your password. To make sure your password is correct, tap the eye icon at the end of the Password box to reveal it.

    What you’ll see: Both boxes are filled in and the red Log in button is ready.
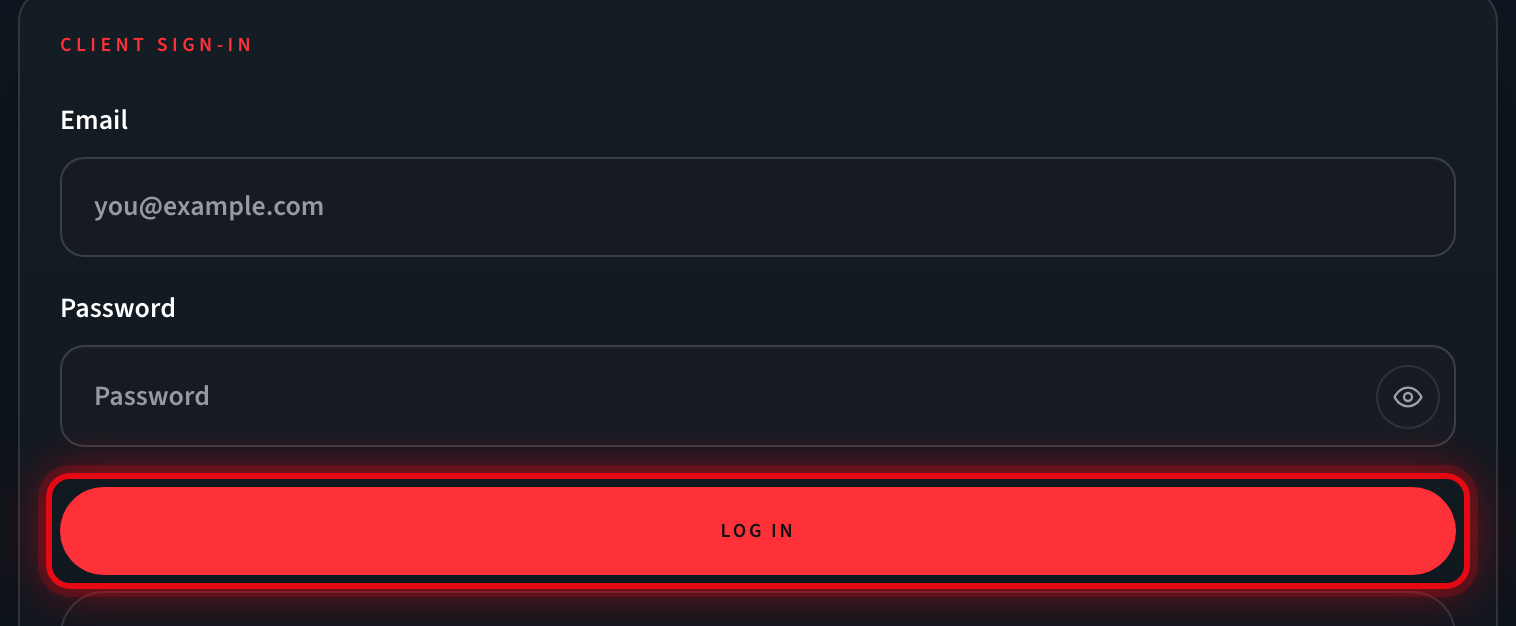
    Client sign-in form with the Email and Password fields highlighted
  2. Select "Log in"

    Click the red Log in button to sign in.

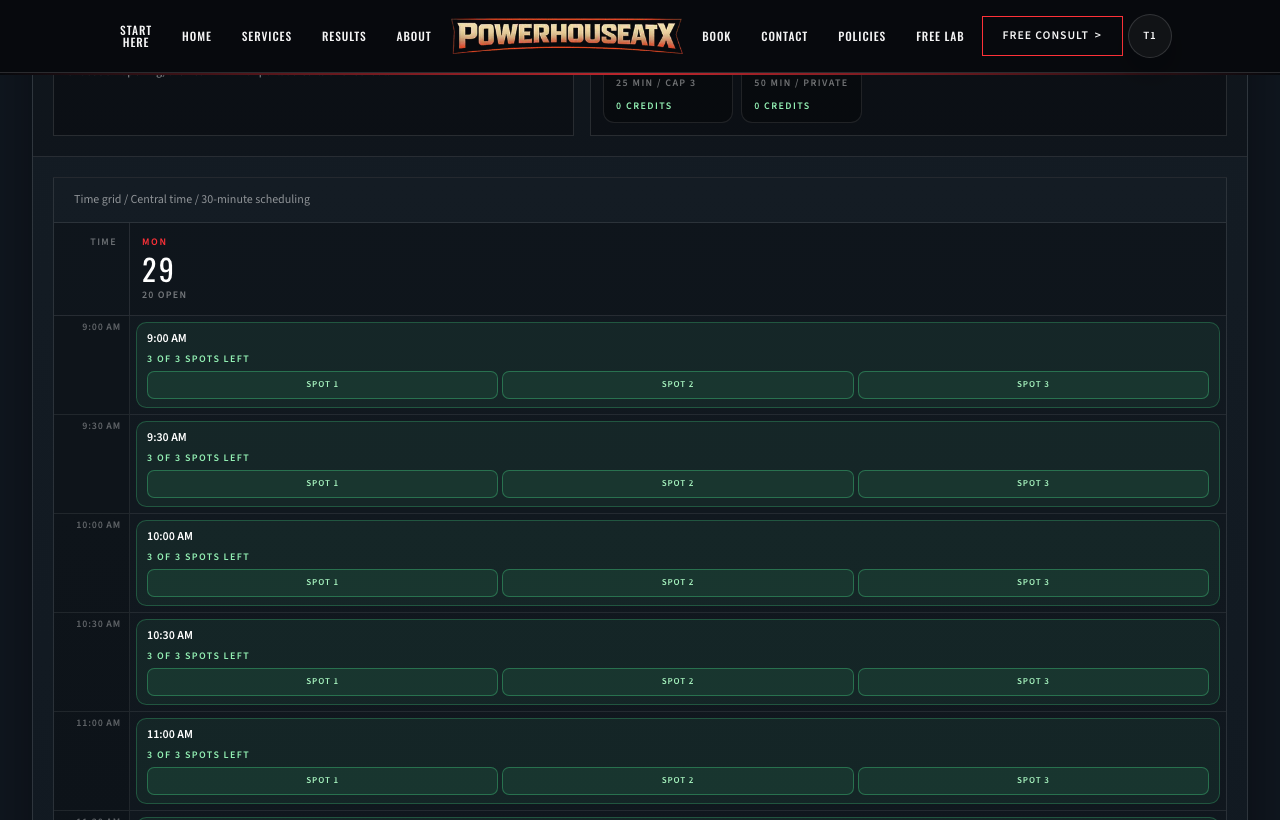
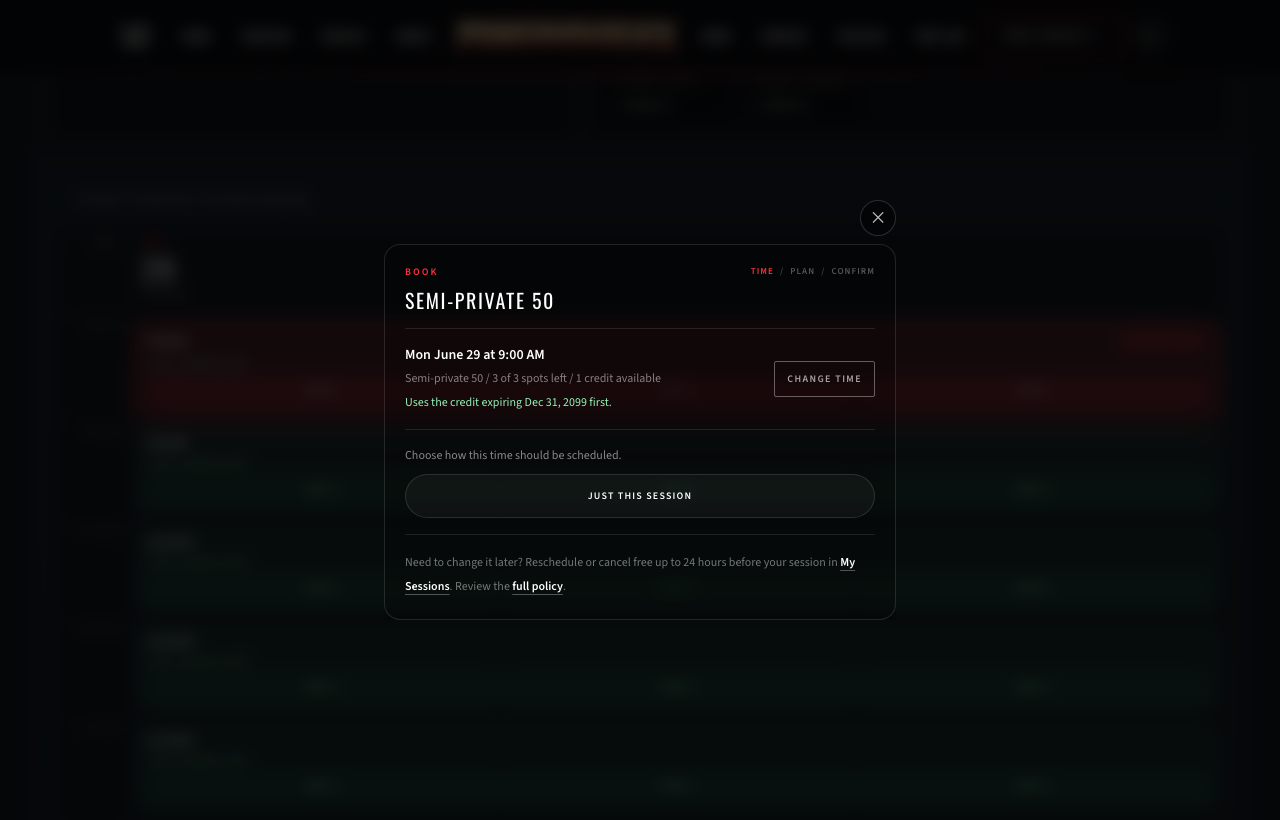
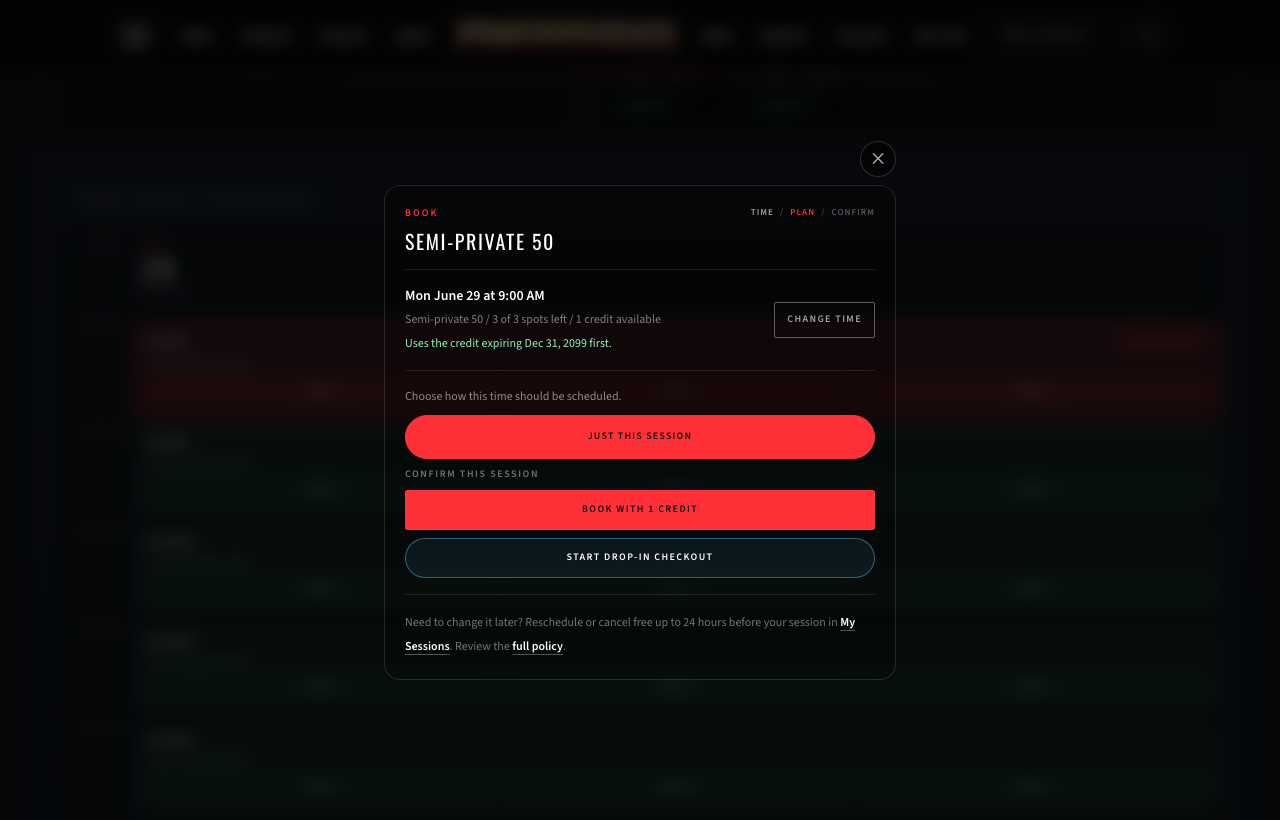
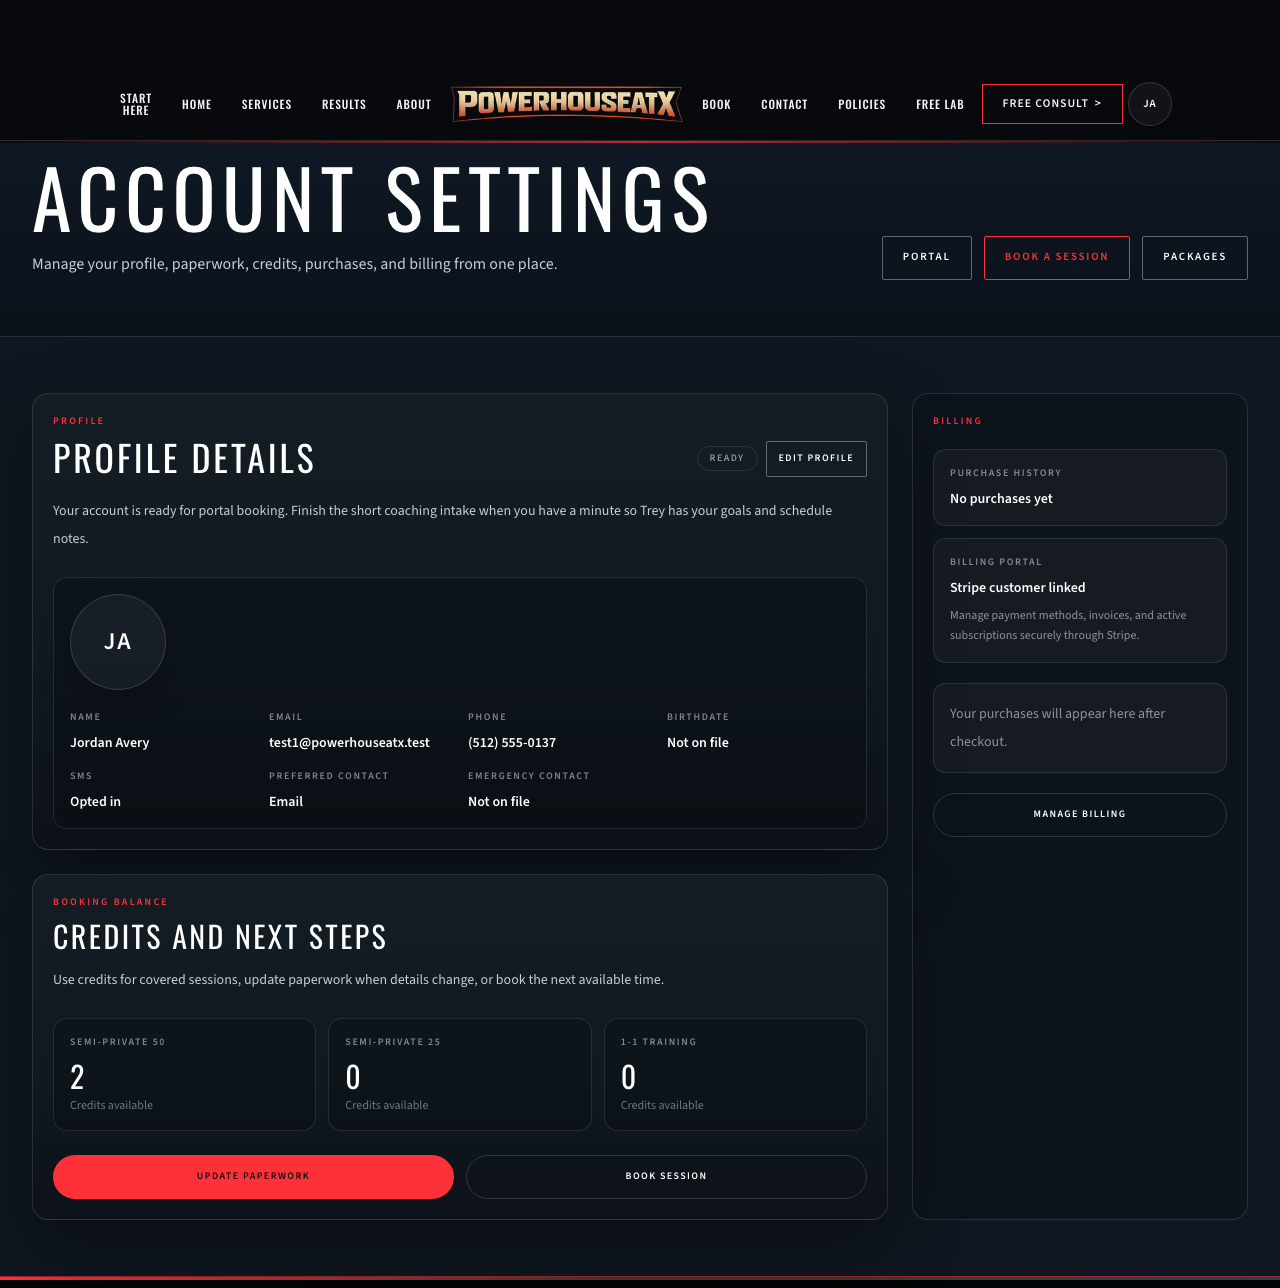
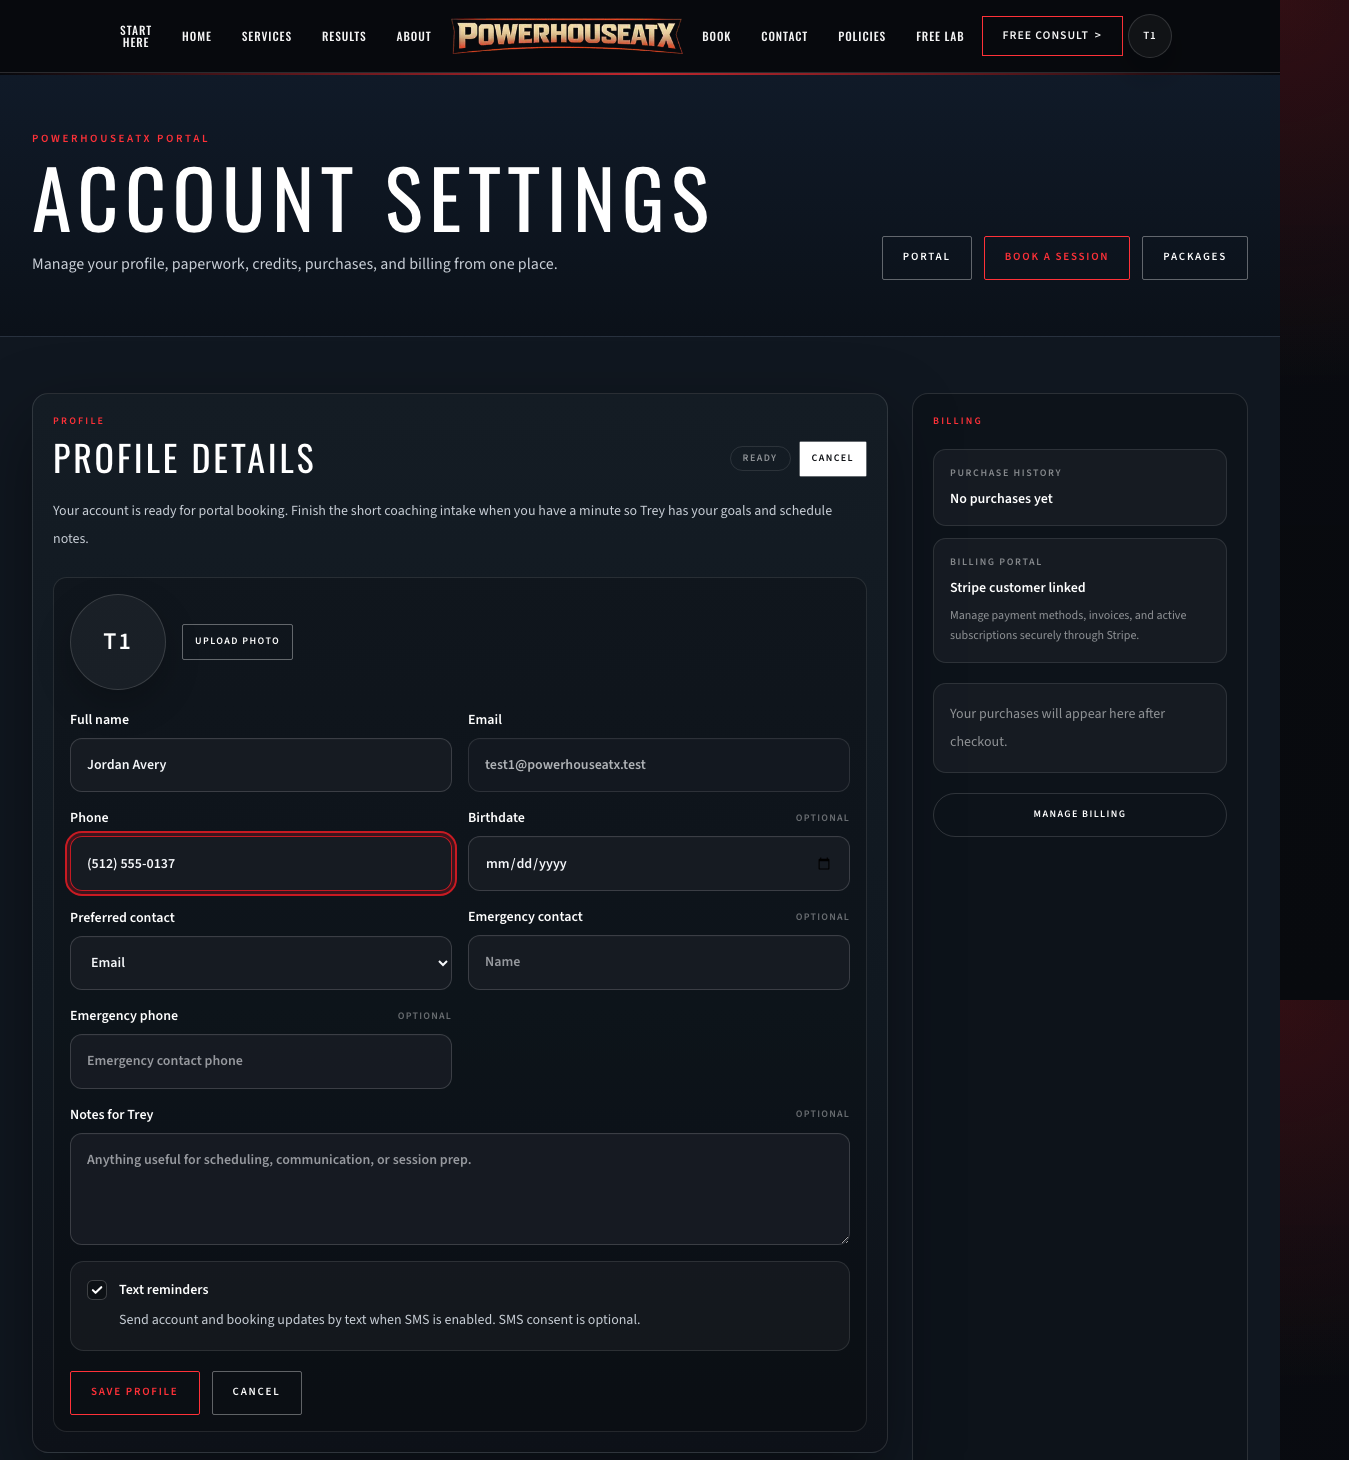
    What you’ll see: You arrive in your portal. The menu gives you Book a Session, My Sessions, and Profile settings. If you're a new client, you'll land on the Waiver & Setup page first — finish that paperwork once and booking unlocks.

    Client sign-in form with the Log in button highlighted
Tips & common questions

Good to know

  • Use the eye icon at the end of the Password box to show or hide what you typed — handy on a phone.
  • The same login works on your phone and your computer. There's no separate app to download.
  • Stay signed in on your own device so you don't have to log in every visit; always log out on a shared or public computer.

Common questions

I forgot my password.
On the login page, choose Send reset link and enter your email. We'll send a link to set a new password. If it doesn't arrive within a few minutes, check your spam or promotions folder.
I don't have an account yet.
On the login page, choose Create client account and register with your email. After that, accept your waiver and training agreement on the Waiver & Setup page, and you'll be able to book sessions.
My email and password aren't being accepted.
Check for an accidental space or Caps Lock, and confirm you're using the exact email you signed up with. If it still won't work, use Send reset link to set a new password, or contact us and we'll get you in.
Do I have to finish paperwork before I can book?
Yes. Booking stays locked until your waiver and training agreement are accepted on the Waiver & Setup page. It's a one-time step that takes about a minute.

Book a session

Booking takes a minute: open the calendar, pick your session type and an open time, and confirm with one of your credits.

About 2 minutes6 steps

Before you start: You'll need to be logged in with your paperwork accepted, and have a session credit (or you can pay drop-in at checkout).

  1. Log in to your portal

    Sign in with your email and password. (Need help? See the “Log in to your portal” guide above.)

    What you’ll see: You're in your portal, with the main menu across the top of the page.

    Client sign-in form with the Log in button highlighted
  2. Open Book from the top menu

    In the main menu at the top of any page, select Book. This opens the booking calendar.

    What you’ll see: The booking page opens, showing your session types and a calendar of times.

    Top navigation menu with the Book link highlighted
  3. Choose your session type and day

    Pick the session type you want (for example, a small-group semi-private session or a private one-on-one). Use Today and the arrows to move to the day you want.

    What you’ll see: The grid fills in with that day's open time slots.

    Choosing a session type and day on the booking calendar
  4. Pick an open time

    Select an open time slot, then confirm the date and time. If a day has no openings, the page points you to the next available one.

    What you’ll see: A confirmation appears so you can review the date and time before booking.

    Confirming the chosen session time
  5. Confirm with a credit

    Choose Book with 1 credit (or Start drop-in checkout if you'd rather pay for this one), then confirm Yes, use credit.

    What you’ll see: Your credit is applied and the session is booked.

    Booking the session with a credit
  6. You're booked

    That's it — your session is confirmed.

    What you’ll see: It now appears under My Sessions marked Confirmed.

    The confirmed session listed in My Sessions
Tips & common questions

Good to know

  • You can reschedule or cancel for free up to 24 hours before your session, from My Sessions.
  • Booking stays locked until your waiver and training agreement are accepted.
  • Each session uses one credit of the matching type — check your balance under Profile settings.

Common questions

I don't have any credits.
You can buy a package or membership to get credits, or choose Start drop-in checkout on the booking screen to pay for a single session.
The day I want shows no open times.
That day is full. Use the arrows to move to another day — the page also points you to the next available opening.
Can I change or cancel after I book?
Yes. Open My Sessions and reschedule or cancel for free up to 24 hours before the session starts.
What's the difference between the session types?
Semi-private sessions are small-group; one-on-one sessions are private with your coach. Pick whichever your package includes.

Check your credits & package

See your current package, remaining credits, and purchase history.

About 1 minute1 step

Before you start: Be logged in.

  1. Open Account settings

    Open Account settings from the portal menu. Your remaining credits by session type are under Credits and next steps. Your profile and billing details are under Profile details and Billing.

    What you’ll see: You can see which credits are available before you choose a booking time.

    Account settings showing profile, credits, and billing
Tips & common questions

Good to know

  • Credits are what you spend to book — one session uses one credit of the matching type.
  • Membership credits are granted when your billing cycle renews.

Common questions

Why do I see credits for one session type but not another?
Credits match the session type your package covers. If your package should cover the session you want and the balance looks wrong, contact us before booking.
Where do purchases and receipts show up?
Completed purchases appear in your account billing area after checkout. Stripe handles the secure payment page and receipts.

Manage your account (phone & texts)

Update your phone number and turn text (SMS) reminders on or off.

About 2 minutes2 steps

Before you start: Be logged in.

  1. Open Account settings

    Open Account settings from the portal menu and find the Profile details section.

    What you’ll see: Your saved name, email, phone, and contact preferences are visible.

    Account settings overview
  2. Edit your phone and text preference

    Choose Edit, update your Phone, and check Text reminders if you want SMS updates. SMS consent is optional. Then choose Save profile.

    What you’ll see: Your phone and text reminder preference are saved on your account.

    Profile details edit form with phone and text reminders
Tips & common questions

Good to know

  • Turning SMS off won't affect your bookings — you just won't get text reminders.
  • Change your password with Send reset link on the login page.

Common questions

Do I have to turn on text reminders?
No. Text reminders are optional. You can use the portal and keep your bookings without opting into SMS.
Can I change my password from this page?
Use Send reset link on the login page to set a new password.